
We started by purchasing an entertainment center off Craigslist ($25). After a little surgery, it fit perfectly into my dad's van!
 |
| Surgery |
 |
| This was no small task |
So we planted her in our "dining room/play room" and there she will stay until the day we try to sell the house! This puppy is too big to fit down the basement steps :)

Next, we removed the doors and shelves that came with it and started priming. Then we went to Lowe's and bought a big sheet of MDF (fiberboard - about $20) which eventually got cut down into each door. There we also purchased hinges, magnetic clasps, and door knobs. And I knew early on that I wanted to do aqua and red for the colors so I picked up some paint swatches as well.
 |
| Here my dad is working on putting on the doors, hinges, and knobs. |

The above pictures proved to be the most difficult part of this endeavor. God Bless you, daddy! Getting the boards cut to the exact size needed to fit into the space was very difficult. But as it turns out, fiberboard sands pretty well so I spent a lot of time sanding them down until they fit perfectly, keeping in mind that the paint would eventually add some more layers to them as well. {Disclaimer: this part of the project was done in November which was when Rian was out of town, so he was unable to help}

While the "hard stuff" was taking place, my sister and I worked on some of the fun detail-y type things. I found some cute red and white paisley fabric at Hancock Fabric and my sister the seamstress sewed them into adorable curtains:

I also worked on the "window project". I took a photo looking out my parents kitchen window and printed it as an 11x14. Then I got a $3 picture frame from Wal-Mart and spray painted it white. I got some white trim and cut it into window panes and hot glued them onto the glass. Cute, huh?


The basket below came about in a funny way, but it ended up being my favorite part of the finished product! Originally we were going to put two doors there at the bottom (to look like the original), but my dad accidentally took a big chunk out of the door as he was cutting it down to size. To stay stress free, I said "no worries, I'll just put a cute basket there!" So my mom and I went to Hobby Lobby and found this cutie 50% off and the exact size we needed!

She eventually ended up looking like this:


I used this tutorial to make the adorable fabric flower. Just some fabric scraps, hot glue, and a cute button are all you need!
Another side project I created for myself was putting together the little doo-dad below during one of Hailey's naps. Again just fabric and felt scraps and a $2 embroidery ring. I did free-hand the letters though :) But it's not as hard as you would think!

Rian came home mid-December and we started the final parts of the project. First up was the counter top. Rian was very excited about this part :) I was all for something simple (well, I was going to hand paint each tile like they did here....) but Rian wanted real tile, so real tile we did! This portion of the project was about $25 for 4 12"x12" sheets of small white tiles and some white grout. Rian cut them to fit and grouted away!


It ends up looking like this:

Which leads me to the sink and faucet. The sink is a dog dish ($10ish) and the faucet is the cheapest one I could find ($9 from Walmart).
And then, just about 6 days before Christmas, we started painting!! White on the fridge, freezer, stove, and oven, and aqua everywhere else. Two coats and some touch ups later, we were ready for the final details!


I just thought of 3 more details when looking at this picture!
1) The backing is white bead board from Lowe's ($20)
2) The burners are wooden discs from Michaels ($1.30 each) which I spray painted silver and mod podged on a photo of a real burner that I found on a Google Image search
3) We cut a hole in the oven door and added a clear piece of acrylic so she can look in and see what's cookin'!
Once we started putting in the final details and accents, it really started coming together :)


The above black knobs are wooden discs from Hobby Lobby that we spray painted black and wrote on with a paint pen. I mod podged over the top of everything so the paint doesn't chip off. Then Rian screwed them in, but not too tight because, yes, they turn! :)


The oven rack came from Lowe's ($6) as did the white hooks in the photo above it (also $6). We added chains to the oven door so it doesn't slam to the ground when she opens it. And the cute wooden cookies came from the dollar section at Target!


I love this part :) The shelf I found at Goodwill ($3) and spray painted it red. The flower pot is from Michaels, the potholder is from the south county Antique Mall ($5), and my sister made the super cute and tiny potholder! The flowers, picture frame, basket, and wax fruit are from the dollar store. That's Hailey's bff Bucky in the picture frame :)
I think that's it for the tiny details! So, here she is all finished!!


And this post wouldn't be complete without pics of H enjoying her gift!
 |
| Christmas morning! |
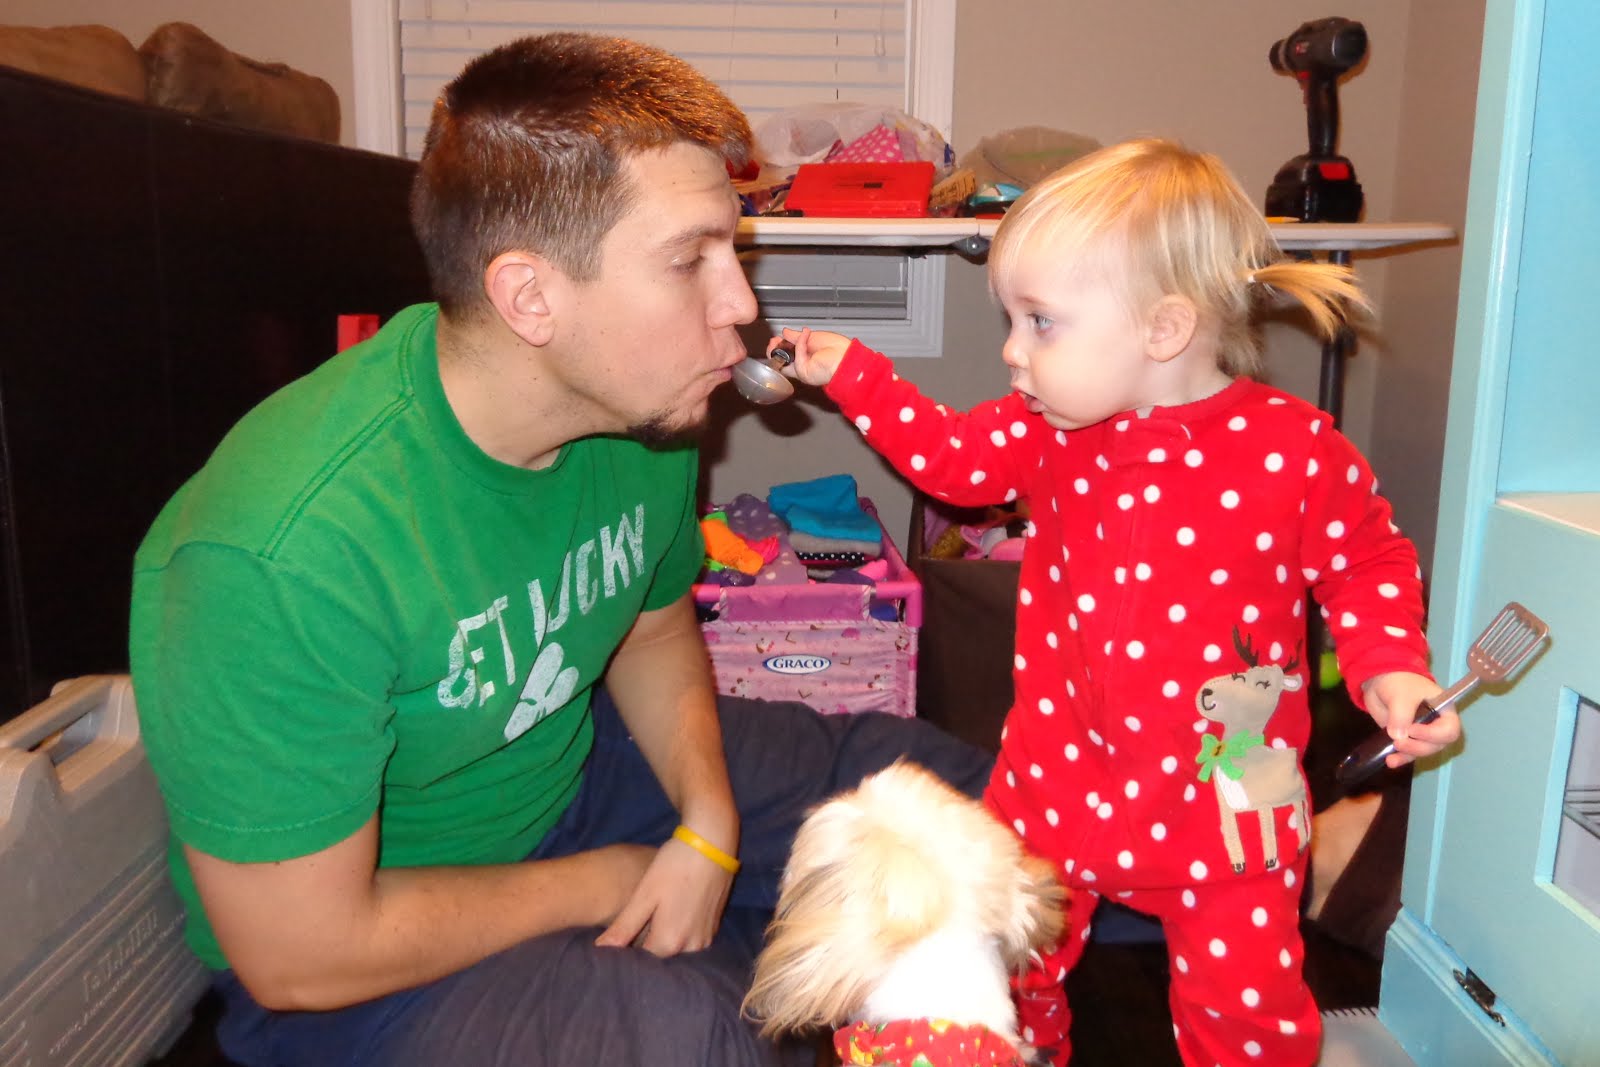 |
| Try these nummies, daddy! |
 |
| Baking cupcakes to take to Grandma's house! |
 |
| She's got some pretty good knife skills for 19 months old! |
 |
| Goin' for that ice cream - she must be my daughter! |
Happy Crafting!


Oh my goodness gracious! It's perfect :) I've been dying to make one for Lily (and pinning them all the time) ha! We're aiming for her birthday this summer. Love it!!
ReplyDeleteThanks! You should totally do it - it is so worth it!!
ReplyDelete